
Table of Contents
A transparent taskbar can completely change how your desktop feels. Instead of a solid block cutting across the bottom of the screen, your wallpaper flows right to the edge, icons appear to float, and the whole setup looks lighter and more modern. Windows offers only limited transparency built in, and it often looks washed out or inconsistent. Fortunately, getting a proper clear, blurred, or acrylic taskbar on Windows 10 and 11 is straightforward if you follow the right steps.
Before You Begin: Prep Your Desktop
Start with a quick tidy-up, because transparency shows everything behind the bar. Choose a wallpaper that looks good all the way to the bottom edge of the screen, ideally one that is not too busy in the lower third where your icons will sit. Darker and softly detailed wallpapers tend to work best, since light text and colorful icons stay readable against them. If your favorite image is very bright at the bottom, consider a blur effect instead of full transparency later in the process.
Next, pin only the apps you use daily and unpin the rest. A transparent bar looks elegant with a short, centered row of icons and messy with twenty launchers competing for attention. Also check your Windows theme settings. Open Settings, go to Personalization and then Colors, and note whether you are using light or dark mode. You do not need to change anything yet, but knowing your current setup helps you judge the final result fairly and makes it easier to undo a change you do not like.
Step 1: Turn On the Built-In Transparency First
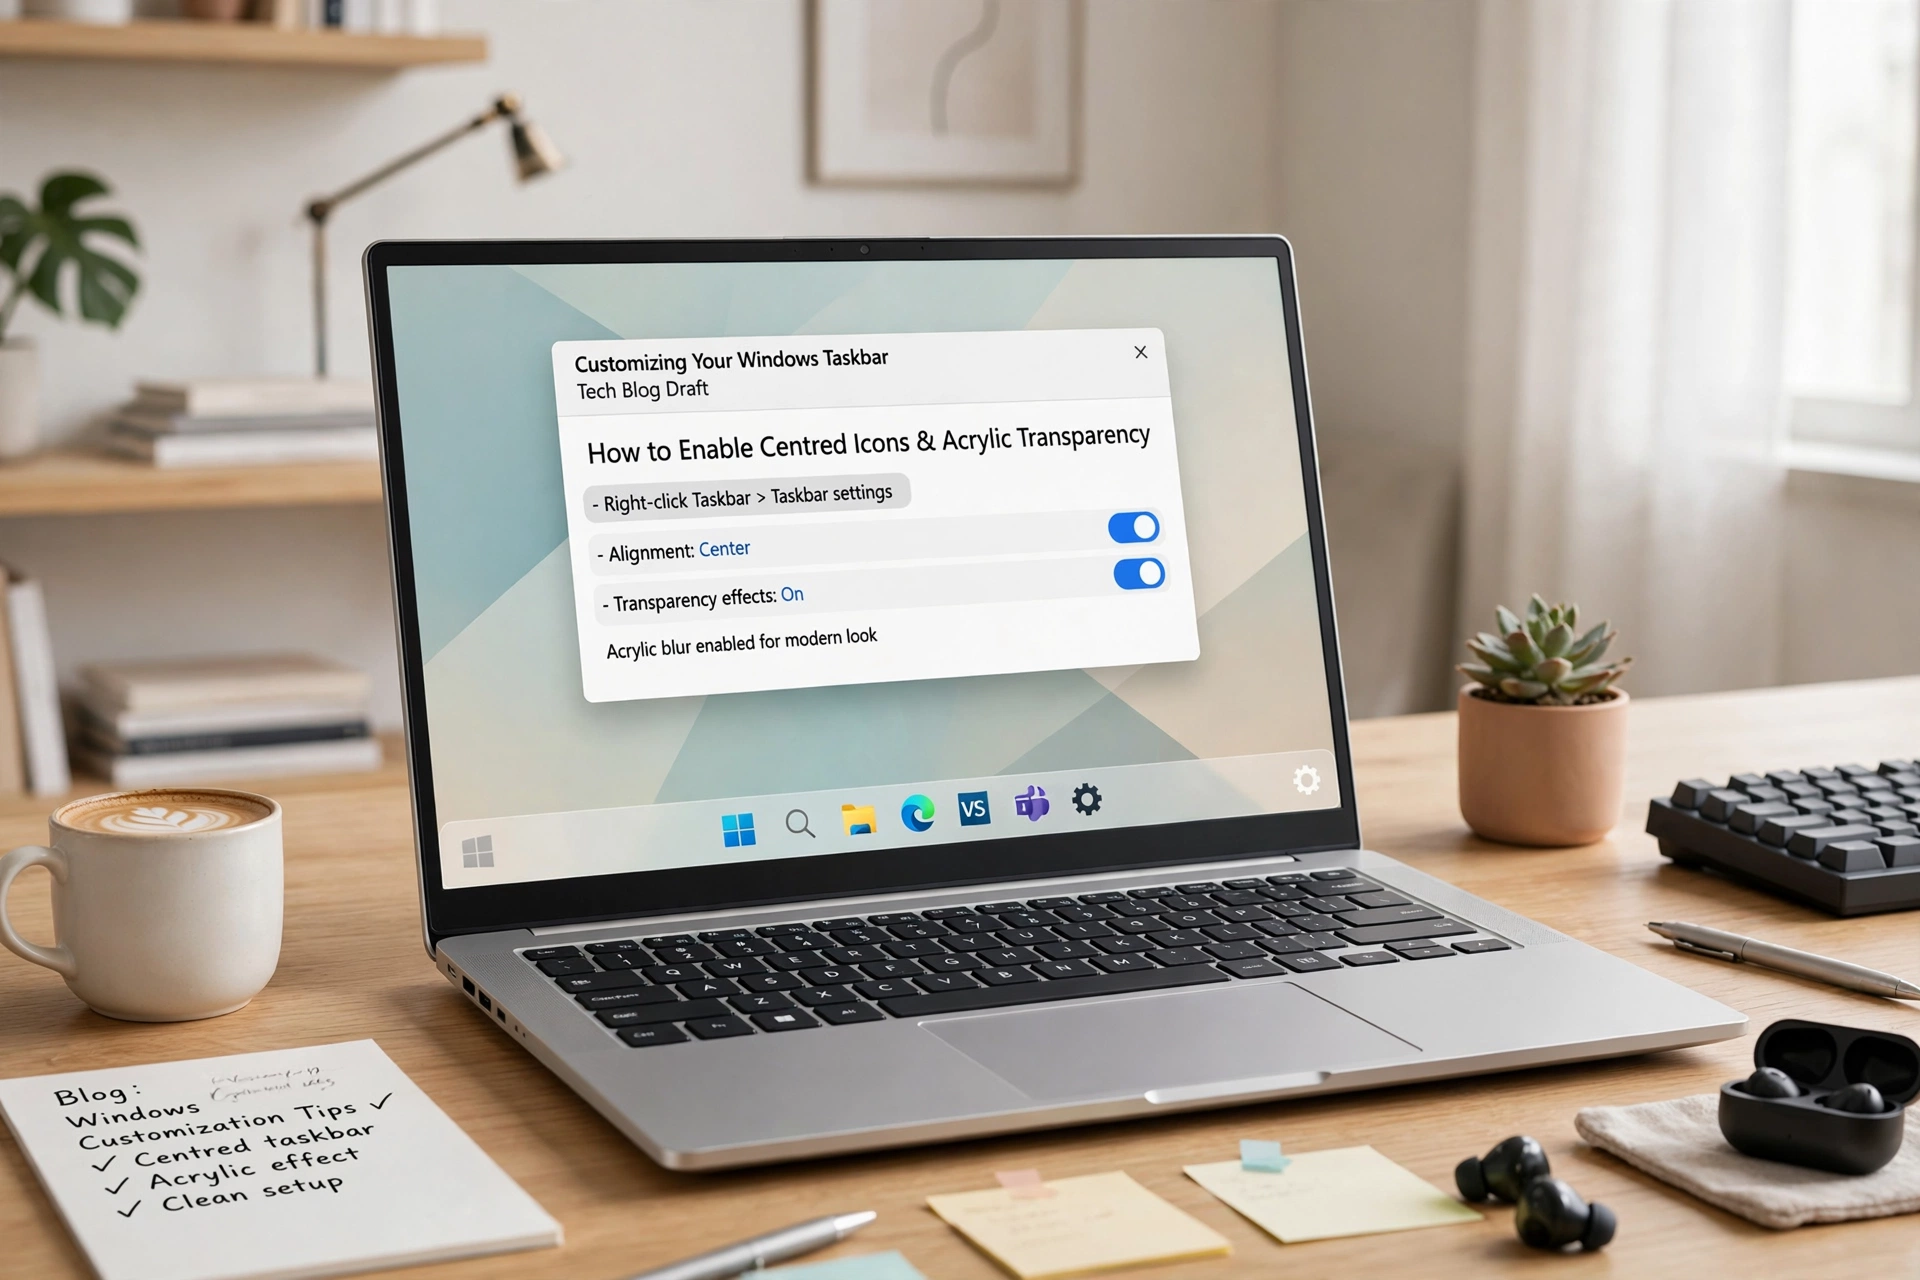
Before adding any tool, try what Windows already provides so you understand the baseline. In Settings under Personalization and Colors, switch on Transparency effects. Your taskbar will gain a slight tinted translucency. For some users that subtle change is enough, especially in dark mode. For most, however, it falls short: you cannot control the opacity level, you cannot get a fully clear bar, and the effect changes depending on your accent color settings, which can be frustrating if you want a consistent look.
Test the built-in option with a few windows open and your usual wallpaper for at least an hour of normal use. Pay attention to readability. Can you always see the clock, the system tray icons, and the indicator lines under running apps? If the answer is yes but you still want a cleaner, more glass-like finish, you are ready for the next step: a dedicated taskbar tool that gives you real control over style, opacity, and position in one place.
Step 2: Install and Configure a Dedicated Tool
Download a lightweight taskbar customization utility and run it. In its settings you will typically find a Style section with options such as Default, Opaque, Clear, Blur, and Acrylic. If you want the full transparent look, choose Clear. If you want your wallpaper softly visible but still want strong icon readability, choose Blur or Acrylic, which adds that frosted-glass texture popular on modern laptops and phones. Apply the change and watch the taskbar update instantly, no restart or registry editing required.
One widely used choice is Taskbarx, which is free and open-source and combines transparency controls with icon centering and animation in a single small program. While you are in its settings, take the opportunity to center your icons as well. A centered row over a transparent bar is the combination most people are actually picturing when they imagine this look. Adjust opacity gradually if your tool offers a slider, checking after each small change rather than jumping straight to the most extreme setting.
Step 3: Fine-Tune for Readability and Style
Now refine the result. Open a bright web page, a dark app, and your file manager in turn, and check that taskbar icons, the search box, and the clock remain easy to read in every case. If anything disappears against your wallpaper, increase the blur, add a slight tint, or lower the transparency a notch. Small compromises here make the difference between a screenshot-worthy desktop and one that is genuinely pleasant to use for eight hours a day without eye strain.
Consider animation and startup settings at this stage too. A gentle animation when the taskbar loads can complement the glass effect nicely. Make sure the utility is set to run when Windows starts, so your style returns automatically after every reboot. Then restart your PC once to confirm everything sticks. If you use a second monitor, check that display as well, since Windows sometimes treats additional screens slightly differently and you may want to match the style across both for a consistent workspace.
Troubleshooting and How to Revert
If your taskbar returns to opaque after a Windows update, simply reopen the utility and reapply your style, it usually takes seconds. If icons look blurry, check your display scaling in Settings and make sure you are running at the recommended resolution. And if you decide the transparent look is not for you, reverting is painless: set the style back to Default inside the tool, or close the tool entirely, and Windows restores its standard taskbar. No system files were changed, so there is nothing risky to undo and nothing to reinstall.
